CLICK HERE FOR FREE BLOGGER TEMPLATES, LINK BUTTONS AND MORE! »

Tuesday, April 26, 2011

Double Mojo Monday Mum!

Hello Everyone,

I've gone all out in Girl World today and made TWO Mojo Mondays!

The first one is my very first Round Card! yahoo - and thank you spellbinders, couldn't have done it without you! lol.

Here it is...


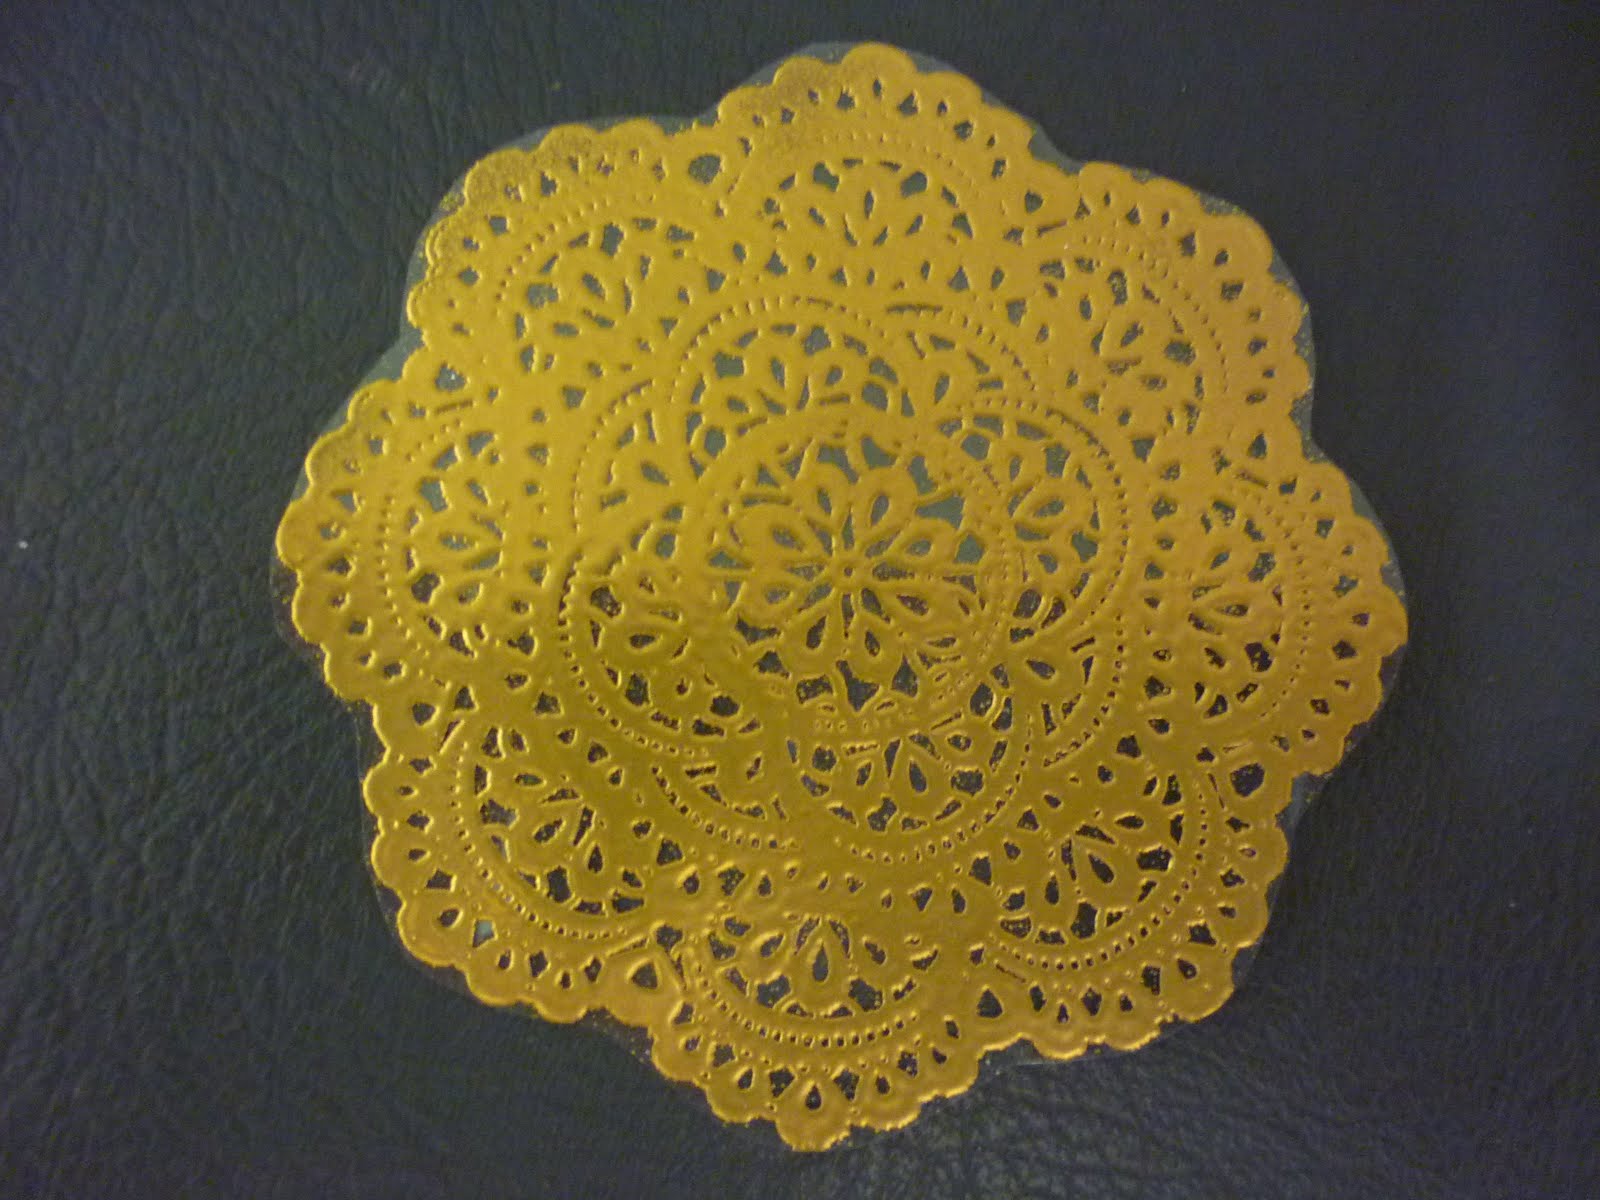
I love the girly results! Although my flowers don't show up as nice as they really are in the photo.

I had so much fun making this one, I thought I'd tackle the square one as well..no points for guessing who this one is for - yep my own mum, and yep - I do fear I'm turning into her!


I got a bit cheeky on the inside used a pile of mixed alpha stickers to write my message - Just as well I love my Mum!

She'll get a good laugh outta that I can tell you!

The embossed heart on the front of this card is something I've been dying to try out - it was an accidental purchase when an item I bought on ebay showed up not to be the item that was described. In this case - I didn't mind! I thought I was gonna get nested plain hearts, I think this is much nicer!


I guess that's my Mojo Monday #188 cards for this week, done nice and early!

Here's the sketch by the way...


Will no doubt be back next week. Am gonna try and use my lovely big butterfly on something this week!

Ciao again...:)

A Corrosive Happy Birthday

Hello Everyone,

I hadn't realised today was a holiday as well, and since I made no plans at all....Girl World - there I went!

What a productive day, it's raining outside, I was in  heaven :)

I made this card, beleive it or not, for my lovely little friend Paris who is turning Eleven. She told me her favourite colour at the moment is Black. hmmm - She's a very arty, crafty girl and I thought I'd make her something a little different, just coz i know she'll appreciate it. I'll probably have to give her instructions on how I did it too lol.

So here is Paris' birthday card this year...


I even went all out and decorated the inside too...


I know... duh I had to - can't write on a black card (without a white gel pen anyways lol)
I'm gonna enter this card over at the Corrosive Challenge Blog. Its challenge #113 and is "Animals". I bet I've got the only flying horse!


See you all in about half an hour with my Two Mojo Monday cards this week too. Yep - that was two - told you I'd been productive! lol.

Ciao for now

Sunday, April 24, 2011

A tempting morsel of glitter

Hi Everyone,

(All 14 of you followers lol)

I thought I'd give you a tempting little morsel of glitter, because I promised you glitter and even though I haven't put these things to use on a pretty card yet - I have made them from scratch and need to share (aka show off).

Once again my good friend Trish has given me some insight.

We worked together and I wanted to make some acetate butterflies with some gorgeous napkins I came across. So away I went and used my PVA Glue with the acetate and some glitter and laid the napkins down and let them all dry, then backed it with plain white card. They worked fine, here's one I've cut out ready to put on a card. It's actually quite big - about 8cm square. There are smaller ones too in pink and yellow, but you'll just have to keep an eye on my cards to spot them as I haven't got any pictures of them yet.


Trish wanted to share a tag project she had which funnily enough was a similar process - only she was using glossy accents with the glitter and some ink (no napkin), Just a bit of tissue paper backing.


There is a cardboard backing on these tags (cut with a sizzix die in the Big Shot machine) that allows you to write on the back of them.

 The pink glitter really stands out!
We got such glued up, glittery inky fingers doing this, as you kinda mush the ink and glitter into the glue. Great fun!

What do you think - here are the tags I've made. I have stamped on the front with Staz On - that slippery thing got me again, but hey it's all good... I think I'll enter them into an Anything Goes challenge like...

inspire me Fridays – anything goes -

or 

lady bugs crafts Ink TLT - anything goes

I think the Glossy Accents makes all the difference in that it kinda suspends the glitter in it and has this depth that lets the glitter shine.
My conclusion is that PVA Glue works too, but Glossy Accents does it better.

 Well there's my tempting morsel of glitter, hope you like it. I'm sure you'll see the butterfly embellishments on my cards in the not too distant future :)

Easter Break Fun with Acetate & Ink

Hi Everyone,

Well, as promised in my previous post, here's an idea of what I've been up to in Girl World this Easter break to get all inky.... the glittery will have to wait till the next post as this one is quite long enough!

Firstly - I bought a stamp from Kaiser (tea at elsie's collection) that is a wonderful substitute for a paper doily.  I knew I wanted to stamp and emboss on acetate, so that I could cut the image out and it would look like a real doily, but I could then have it in any colour I liked.

Not so easy to start off with, here was my first attempt...

Not so easy indeed - I forgot to use the embossing buddy, the stamp wasn't inked up properly (in my haste), and the acetate is so very slippery!

Well, along came my friend Trish (from Trish and Treasure) and all her wisdom and advice finally lead to a wonderful image. Check out the result!
White, Silver & Gold - wonderful!


Tricks to stop slipping were to lay the acetate over the stamp and gently brayer the image onto the acetate rather than try to press the image down onto the sheet.  Use the embossing buddy to stop the static cling and Wala!
Trish also stamped a heap with white Staz on which also worked a treat and was much quicker...


I told you Trish did heaps - and this is only the half that I kept!

Now while I was madly making Doilies with the acetate - Trish was busy with her alcohol inks and a blender making the most gorgeous colours and patterns on her acetate.

She let me keep some and I've combined her beautiful colours with my embossed doily, a home made flower and a printed sentiment to make the following card..


Aren't the colours just stunning! here's a close up


It's such vibrant colours I think I'll enter it in a few Spring challenges and what not, such as...


Don't forget to come back and check out my next post, it's gonna be very glittery :)
Ciao for now


Friday, April 22, 2011

Mojo 187 - More Water Colour Flowers

Hi Everybody,

I've put together my Mojo 187 Sketch Challenge this week with the remaining flowers from my Water Colouring expedition on the last post. The flower here is from the Fifth Avenue Floral set by Stampin Up. 


As explained before, the stamp has been embossed with white onto watercolour paper, then saturated with water and ink dipped into the pools of water that sit inside the embossed area. This technique is great for getting colours to merge and leaves a wonderful water puddle effect in the ink when it is dry.

Here is a close up so you can see what I mean...

I've used a few different elements to put this card together, Embossing folders, Mini Tag sizzlit, Twine, Spellbinder circles to cut the frame beneath the flowers, my Fiskars cutter to make the scallop edge and last but not least, some beautiful ribbons that I purchased at the Craft Queen

Here is the Mojo Sketch I worked from....


I have started off my Easter break with a massive day in my craft room and promise to post more tomorrow (when all my glittery creations have dried and I can use them!).
Have a great Easter everyone - see you tomorrow!

Sunday, April 17, 2011

I love you Mojo Mum

Hi,


I have had a lovely Sunday watching my friend Trish's daughter acting in the local theatre company's plays today. She's gonna be a star that girl! Two plays in a row today - Cinderella & Aristocats. She made a scrumptious little mousey in the second one, very cute.

Anyway, when I got home I checked my diary and realised that Girl World would be sorely neglected until at least Easter! Too much work happening darn it! 
And so I spent the rest of the afternoon gettin my mojo on.....and here is the result.....


and here is the sketch for Mojo Monday #186....


 That's my Mum sorted for Mothers day, the next will be my Mother in Law no doubt :)

I have used the SU Fifth Avenue Floral rose and used a water-colour ink technique on an embossed image that I then cut out and layered up with some spellbinder circles & scallops. I used SU "Glorius Green" and "Ballet Blue" to colour with. The Manhattan Rose embossing folder was used on the white card at the top, and a Kaiser "I love you" stamped in black for the sentiment. MUM is stuck down in stickers. The floral paper was from a Paper Stack purchased at Big W. and there is some lovely green twine at the top with white ribbon tied in a bow to finish.

The water colour ink technique involved embossing the image on water colour paper. Spray the image with water until it pools inside the embossed areas. Take up a little ink on a brush and just touch the pool of water and watch the ink spread. Mix two colours together for a nice effect. Let it dry. Simple.

Wednesday, April 13, 2011

Thanks Lollipop Ladies

Just wanted to say a big THANKS to the Lollipop Ladies (and Mr Linky), for picking me as the WINNER! of Challenge #17 - the Maccaroon inspiration card.

Here it is again ...

It's an awesome prize - A voucher to spend at Sammi's shop - Mad for Markers 

hmmm now what colour copics will I choose? Any suggestions - I currently have TWO colours lol (E00 & E11), which seem to work ok for skin.

Thought maybe an "R" colour for cheeks and some earthy hair type colours, perhaps E13, E17.

Off to do some research on that!  What's the bet that I can't decide on just a couple and spend more than the $20 prize? he he he - any excuse really :)


Have a great rest of the week, I'll be back over the week end to post some stuff that I'm working on now.

Monday, April 11, 2011

Spring Flowers

Hello again,

I've made this really simple card with a wonderful technique taught to me by my SU (Stampin Up) demonstrator - Jane Norrish.

I have stamped and coloured and cut - out my daisies from the SU Every Moment stamp set and then glued them to a beautiful blue sky coloured card. I then ran it through the Big Shot using my SU Textured Impressions embossing folder.

A simple sentiment (pretty sure that's a Kaszazz Happy Birthday), and a piece of ribbon finished it all off nicely.


I was inspired by the picture challenge at 4 Crafty Chicks which shows flowers reaching to the sky....


Isn't it beautiful!

Daring Birdy

Hello Everyone,

I have made this cute little gift card using a few different techniques - just as practice, but I think it turned out great!


There is an emboss releif background that has been brayered, I've used my spellbinder scallop circle to cut a window and mounted the background behind it. I then sandwiched my little cut out and coloured birdy and reeds between it and some acetate. It's a nice shiny window.

Daring Cardmakers have the perfect challenge running - Draw a Bird Day. Well, I coloured a stamped bird? It's the SU Every Moment stamp too, just in case your wondering :)

Wednesday, April 6, 2011

A Snappy 4th Birthday!

Hello again,

Am back to share a card I've made for my sweet little god-son who has an obsession with Crocodiles!


This paper was perfect for Finn! It was covered in all different animals, I just fussy cut the crocodile out and mounted him up. The 4 is a chipboard that I have painted and covered in paper. Too easy!

Brayered it!

Hello again, told you I'd be back tonight.

Well one of the things in my recent Stampin Up order was a brayer. I have been dying to have a go at this, there really is some awesome cards out there with sunsets and moonshine, so I just had to have a go at it. I did previously try it with Trish a while ago, but we decided we didn't have the right brayer, but now I have!

This is a quick card I made using a brayered background and a pretty 'grasses' stamp set that I purchased recently at the my local $2 store.

This is not bad for a nearly first attempt I thought, although am not entirely happty with the colours.  
I used Stampin Up inks - more mustard, cajun craze and bravo burgundy. There is also a bit of a line where there shouldn't be, but hey, you get that!

I have had another go since then and added in some cherry cobbler which really brightened it up. I will post that when I've made a card with it. (it's on my desk in Girl World at the mo, just as a background).

If you'd like to see what it should look like, check out this blog of Michelle Zindorf - she is the brayer queen! Amazing! I may have to do a couple of her workshops!

Ciao for now...

ps. sorry about the photo, I used gloss card a the light was reflecting on so I had to stand it up instead of laying it flat on white paper like I normaly do.

Mojo Every Moment

Hello Everyone,

I received my Stampin Up order in last week and found the Mojo Monday Sketch this week was the perfect opportunity to use my new stamp - "Every Moment", and the "Beautiful Wings" embosslit.

Without further adieu - here tis...


I really enjoyed colouring this image in, I used a Stampin Up blender pen with either a marker or spot of ink on the craft mat. (Colours were Wild Wasabi, Soft Suede and River Rock together and a tiny bit of pumpkin pie on beak and legs.)

I shaded some pale orange chalk over the image to soften it a little. The image was then die cut with spellbinder circle and matted onto a spellbinder scallop circle die cut.

The big scallop is a 1" circle punch laid underneath and the ribbon is from my stash. The green pearls are from Kaiser.

This is the Mojo Monday #185 Sketch, and this week it's a competition week. I'd really love to win a Verve stamp set - wish me luck!


I'll be back later with some cards I made through the week, just for fun, as you do. Feel free to come back a take a peek. :)

Sunday, April 3, 2011

Pixie Dust Paperie Give Away

If you'd like a chance to win their wonderful give away, head on over to their blog and enter - click here!

The prize looks pretty awesome...


Well that kit sure would get a head start on Christmas :) Hope I win to gain some motivation.

You have until the 18th of April 2011 to enter - so get to it!
I'm on my way back there to check out all the other awesome stuff too.

Friday, April 1, 2011

Macaroon Inspiration

Hello All,

I was browsing my favourite blogs recently and came across the challenge at The Lollipop Ladies, which is to be inspired by this picture of macaroons and add some gloss.


I knew instantly I had something in me for this challenge - those macaroons were shimmering just like a pile of cardstock I had stashed away, and in all the right colours. So here is the card I made....


I scored an inside border on the DCWV textured card so the core was showing, did a little sanding all around the edges and then decided to add some pearl paint. The shimmery cardstocks were cut with my circle spellbinders and run through various embossing folders with my Bigshot. The ribbon is organza and has quite stiff bendy edges on it. I cut a tag out of the same cardstock and stamped a sentiment on it. Then added a little glossy butterfly bead. The tag and the butterfly are tied onto the ribbon with some clear bead making thread. A couple of square blings finished it off.

As usual, I hope you like it - I sure had fun making it :)